

The Best Ways to Protect Your Floors When Moving House
Moving day throws heavy furniture, trolleys, unpredictable weather and muddy shoes into the mix. The problem: each of these can seriously damage floors. Scratches, dents, watermarks and ripped carpets can all cause repair bills and deposit deductions you could easily avoid.
This guide highlights the simplest, most cost-effective ways to protect floors when moving. It covers room-by-room instructions, the right products for each surface, and practical backups for wet weather. Follow these steps to prep quickly and prevent damage before it happens.
 Last updated: 14 August 2026
 Read time: 12 min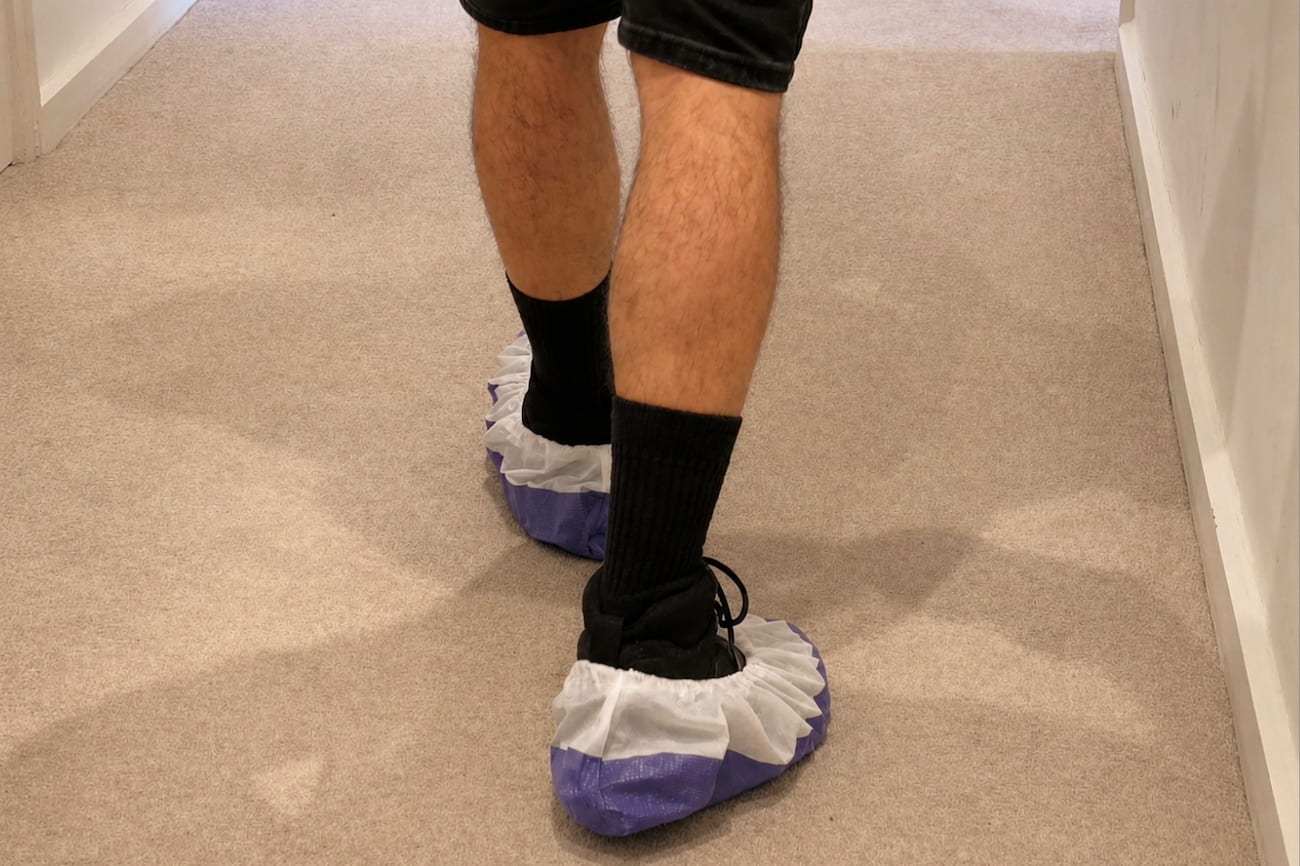
Why Floor Protection Matters (and What Gets Damaged)
Without preparation, floors take the brunt of moving day. Dragged furniture causes scratches and dents. Trolleys can pinch or crack timber. Wet shoes can create water ingress issues, which may stain or even lift flooring. Additionally, cheap tape has the potential to leave sticky residue that’s expensive to remove.
In rentals, this kind of floor damage is one of the most common causes of deposit deductions. That’s even the case when the rest of the property is left spotless. That’s why a little planning is recommended to prevent costly repairs and arguments with landlords. When you protect your floors properly during a move, you keep surfaces safe and avoid potential issues down the road.
Match the Method to the Material (by Floor Type)
It should come as no surprise that different floors require different protection. Here’s a quick guide on how to use the right product for each:
| Floor Type | Recommended Protection | Key Precaution |
|---|---|---|
| Hardwood/engineered wood | Use ram board or Masonite/hardboard sheets. Add felt pads or sliders under furniture. | Secure the protection with breathable tape. |
| Laminate/vinyl | Lay corrugated plastic sheets. | Avoid excess water. For instance, don’t use any wet mops around move day. |
| Tiles/stone | Protect with heavy-duty boards and neoprene runners. | Watch for uneven grout lips when using dollies. |
| Carpet | To protect carpets when moving, apply specialist carpet film only on clean, dry pile. | Avoid leaving it down for more than 24 hours. |
Whether you need to protect wooden floors when moving or a different material, you can avoid causing new damage with the correct combination of boards, runners, and pads.
Entryways First: Create a Clean, Non-Slip Runway
Entry points naturally take serious strain during moves. Due to this, you want to set up a clean, controlled route. Start with an outside doormat and a scrape zone to limit grit. Inside, lay a poly or kraft paper moisture barrier, then add non-slip floor protection (entry runners or boards) all the way from the door to the main rooms.
The next step is to reinforce the door threshold where drag-throughs happen. Keep a wet-weather towel station ready for wiping shoes, and place an absorbent mat just inside for extra grit control. All this work prevents slips and protects hallway floors. This also makes moving heavy, awkward items in or out of the property more stable.
Stairs & Landings: Highest Risk Zone
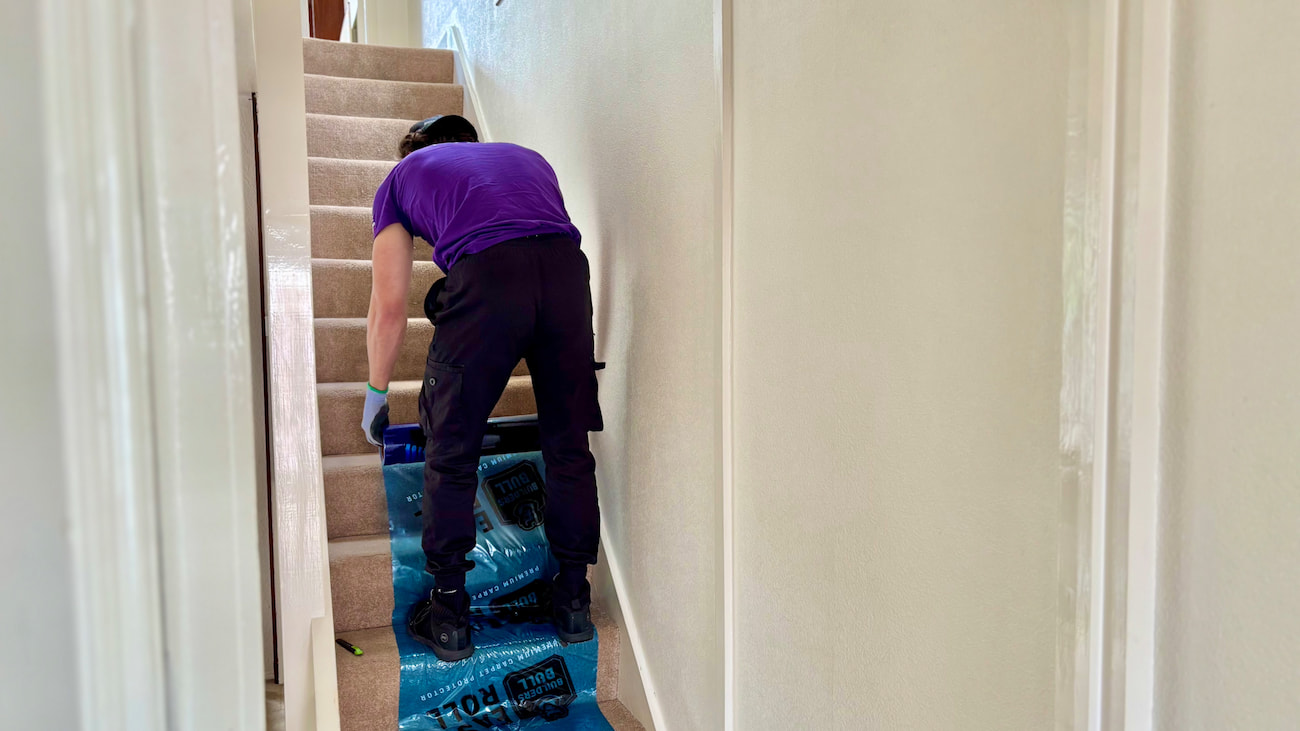
Stair protection on moving day is essential. This is the area of a property that takes the hardest hits during moves, so give it the strongest protection. Begin with non-slip stair runners secured with taped edges to the runner, never directly onto varnished or painted surfaces. Cover treads and risers fully, and check that edges are pressed down to avoid trip points. Another suggestion: add corner guards or banister padding on newel posts and spindles to prevent knocks during tight turns.
For lifting, always use a two-person carry with a spotter. This is especially important on narrow flights. These simple steps protect stairs when moving while reducing the risk of dents, scuffs and fabric tears.
Tape, Adhesives & Residues
Don’t underestimate the need to use the best tape for floor protection. The right tape secures protection safely. The wrong tape opens the door to residue risk.
Stick to low-tack painter’s tape or breathable adhesive floor tape for hardwood, laminate, tile, and stone. These lift cleanly and allow moisture to escape. Conversely, you should avoid using duct tape, strong packing tape, and masking tape directly on floors – especially timber or stone. The reason is simple: they can pull the finish or leave adhesive behind.
A test patch first is wise, while you should check that the protection materials are clean and dry before taping. Remove all tapes within 24-48 hours to minimise residue risk and surface bonding. Tape residue removal can be surprisingly costly, so don’t get stuck with this bill.
💡 Finest Tip:
Before covering a large area, test both the tape and floor protection material on a small, discreet section. Check it again after a few hours to make sure it lifts cleanly without leaving residue or affecting the finish.
Moving Gear That Won’t Ruin Floors
To prevent floor damage, choose equipment designed to carry heavy loads without scratching surfaces. The best dolly for wooden floors is one with rubber tyres. For heavier items, use piano skid boards wrapped in blankets, while you should use felt or furniture sliders when moving heavy items on timber or tile. On stairs, switch to lifting straps to avoid dragging.
Are you dealing with heavy or awkward items? Lay down plywood ‘roads’ to spread the load across a wider area. Stick with soft wheels and avoid hard plastic, which can leave dents or scuffs on wooden/stone floors.
Rain Plan & Dirt Control
Nobody wants to encounter a wet weather moving day, but it’s almost inevitable in England. The issue is wet weather dramatically increases the risk of slippery floors and embedded dirt.
Start by wrapping mattresses and sofas in bin-liner covers to create a moisture barrier. To protect floors from mud and water, you should then set up a towel station at the entrance for wiping down shoes, hands, and equipment. As an alternative to shoe covers, you can create a shoe-swap point so movers step onto protection with clean footwear. Add an umbrella station outside and utilise a runner rotation system as they get soaked. Furthermore, keep a mop and microfibre cloth ready to tackle puddles instantly.
Room-by-Room Setup Checklist
For a quick moving day floor protection checklist, use the following to protect every key area efficiently:
With the right route planning, you limit damage and prevent slips. You also keep the crew moving efficiently without unnecessary delays.
Rental & Deposit Protection: Evidence Matters
To protect your tenancy deposit, it’s important to document the property before anything is moved.
Begin by taking timestamped photos of every room. Focus on close-ups of any existing issues like scratches, loose boards, damaged carpet, and worn grout. One tip is to log these images alongside your inventory to prove the condition later if necessary.
Keep receipts for any floor protection materials (think ram board and runners) as they demonstrate reasonable care. Get the camera out again to photograph floors with protection in place, then repeat this after removal to show there’s no residue or damage.
This simple evidence trail helps prevent unnecessary disputes over move-out photos and floor condition. It also strengthens your condition evidence if deductions are challenged.
Eco Options & Re-Use
If you want eco-friendly floor protection when moving, choose materials that can be reused or recycled after moving day. For instance, a recyclable ram board made from recycled fibre board is both durable and cost-effective. Additionally, neoprene runners are reusable for years and offer great non-slip grip, especially in hallways and kitchens. Specialist shops now offer runner rental kits and reusable skid boards, further cutting waste and storage needs.
After the move, consider donating intact boards and films. Community groups, schools and creative workshops may be able to reuse them and extend their lifespan.
Opting for reusable runners reduces environmental impact while still protecting your floors on moving day.
When Professionals Are Worth It
Sometimes, hiring pros makes more sense. That’s the case for the following scenarios:
Professional movers may be worth considering for:
- Complex layouts
- Long corridors
- Multi-storey homes
- High-value hardwood floors
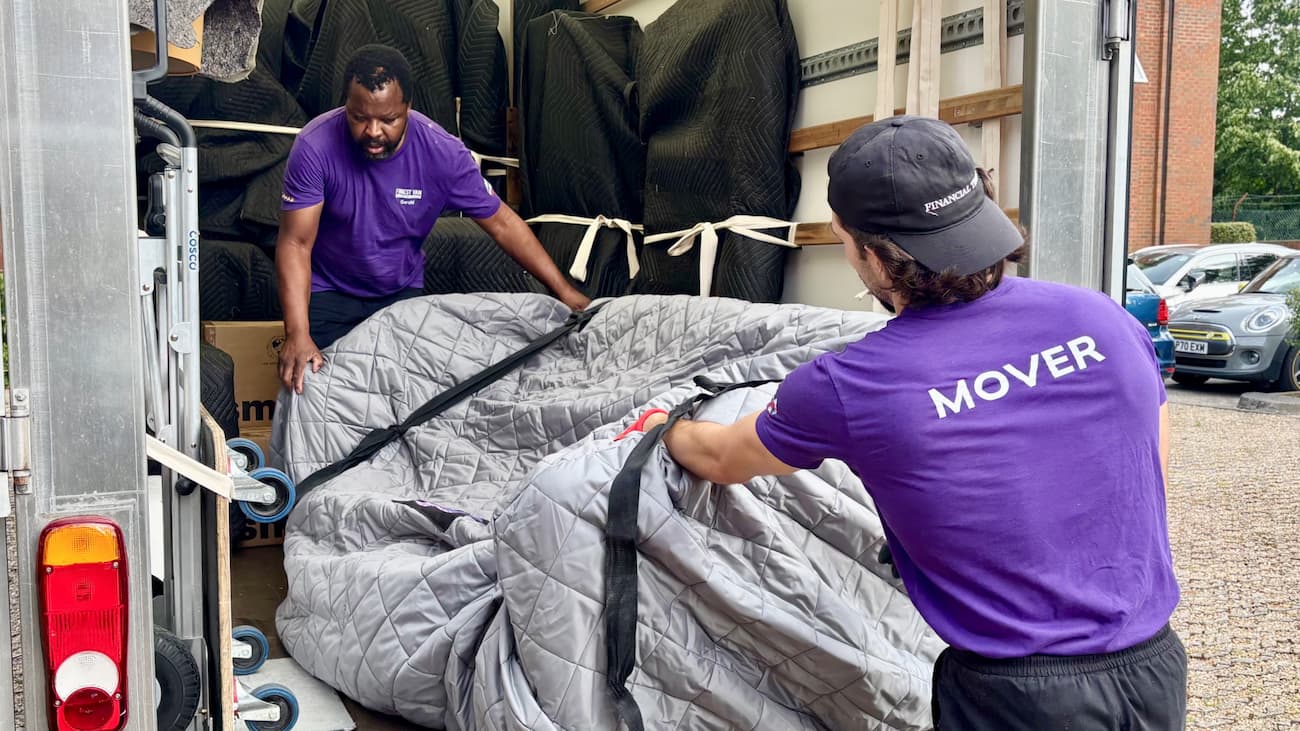
With professional movers, floor protection is made easy. Teams bring ram boards, runners, neoprene, skid sheets, and all other relevant protective kits, combining these with trained handling techniques. They know how to manoeuvre everything from pianos to oversized furniture without scraping floors or damaging thresholds.
Our trained handlers are also familiar with the intricacies of different London properties. For East London removals, our local teams know how to navigate the likes of narrow Victorian hallways and tricky communal entrances. This is done quickly, safely and with fully insured service coverage. Learn more by visiting our Hackney removals page.
Plan Your Floor Protection Like a Pro
Before packing, we recommend listing each room’s flooring type and noting where you’ll need boards, runners, or carpet film so you have the right materials list. Buy or borrow the right materials early, lay a test patch of tape, and create a route map from door to van. When you plan your moving day route properly, your floors are much better protected.
Need more packing and moving tips? We’ve got you covered. For a smoother move, read our fullmoving and packing tips guide.

